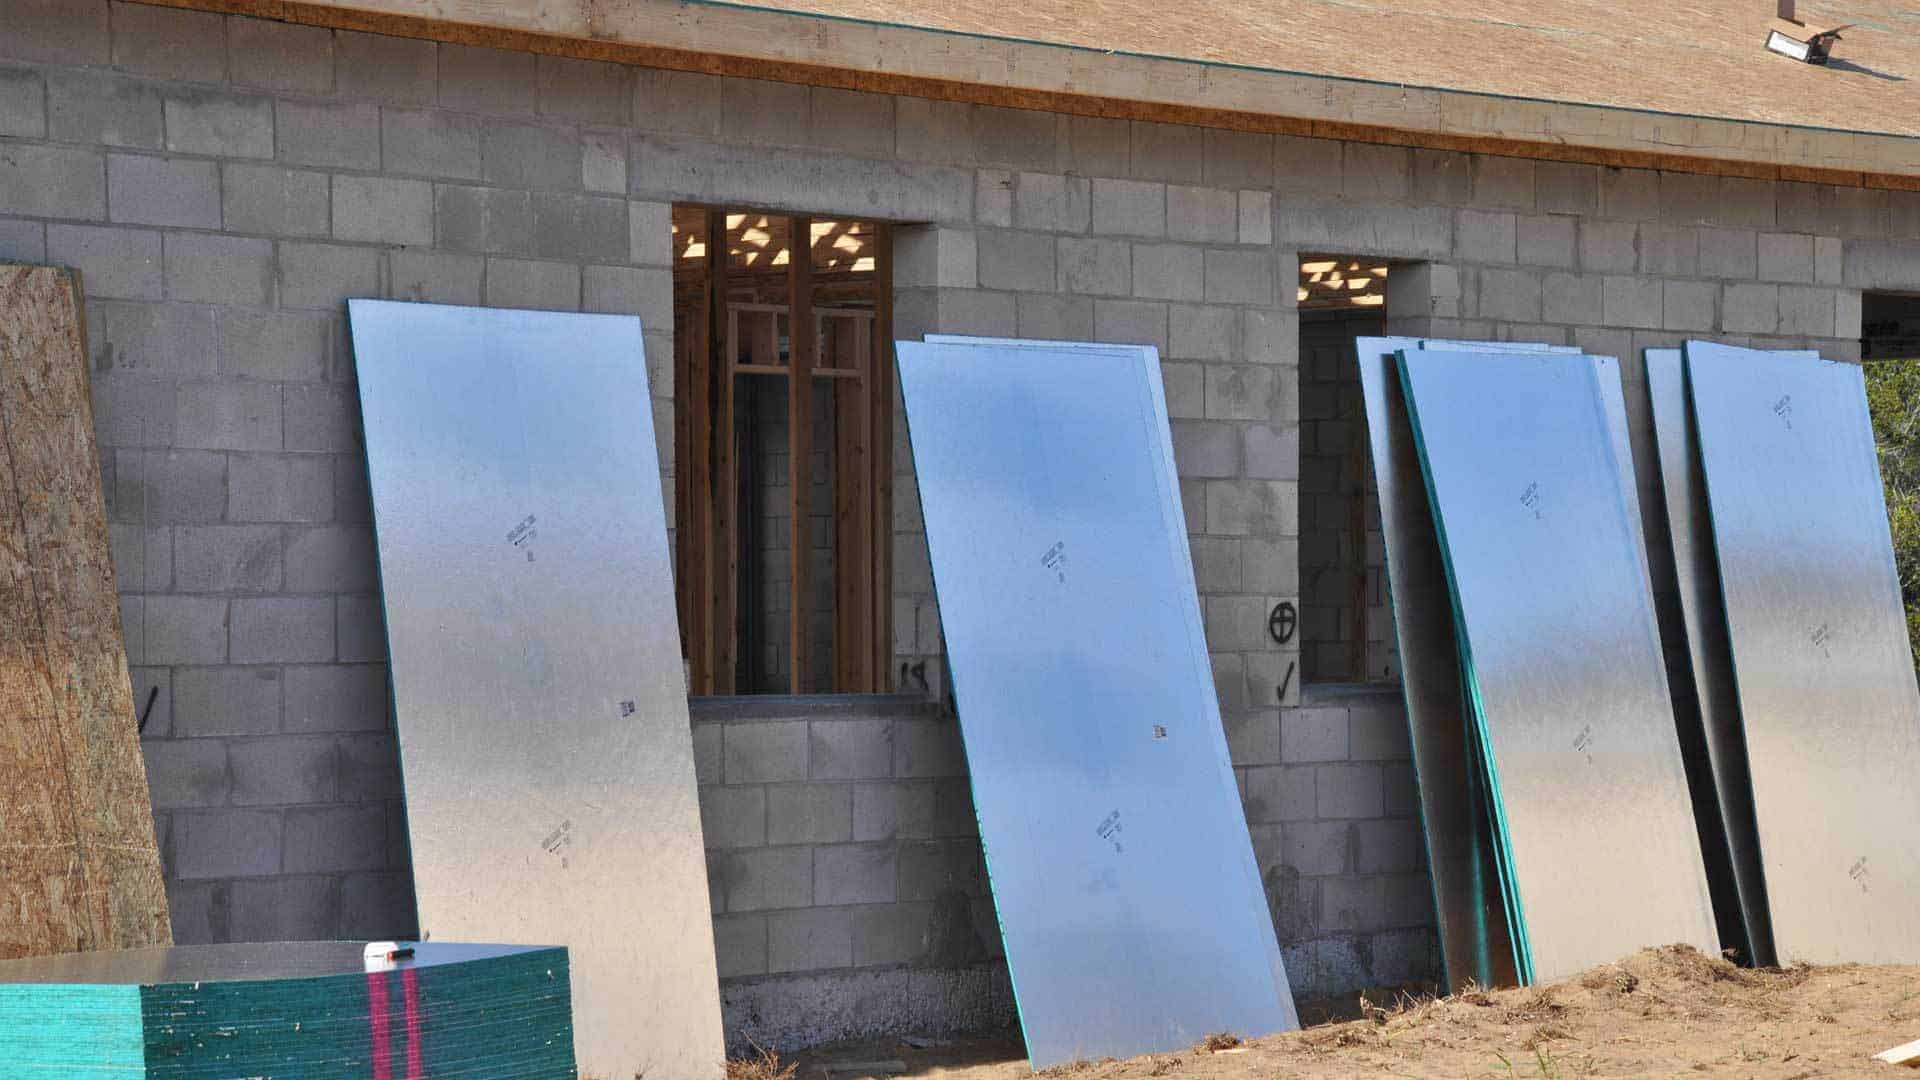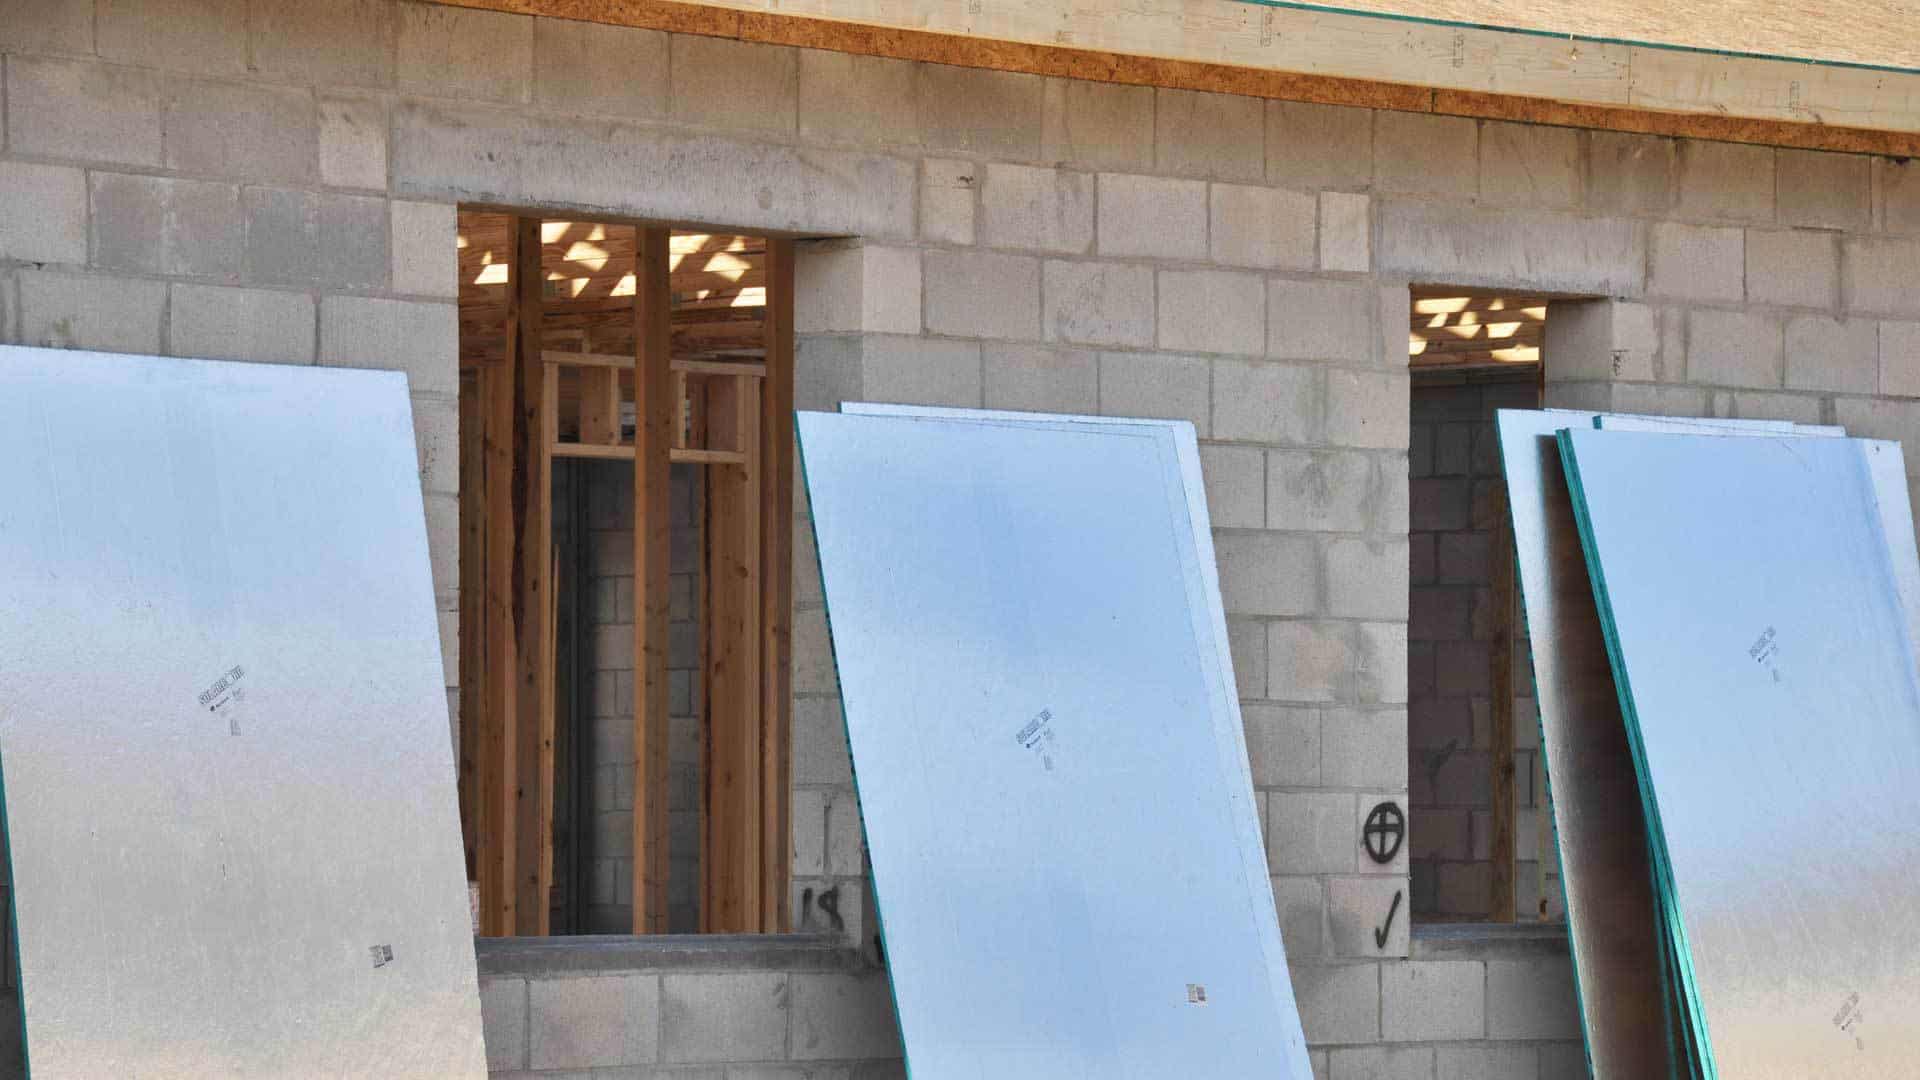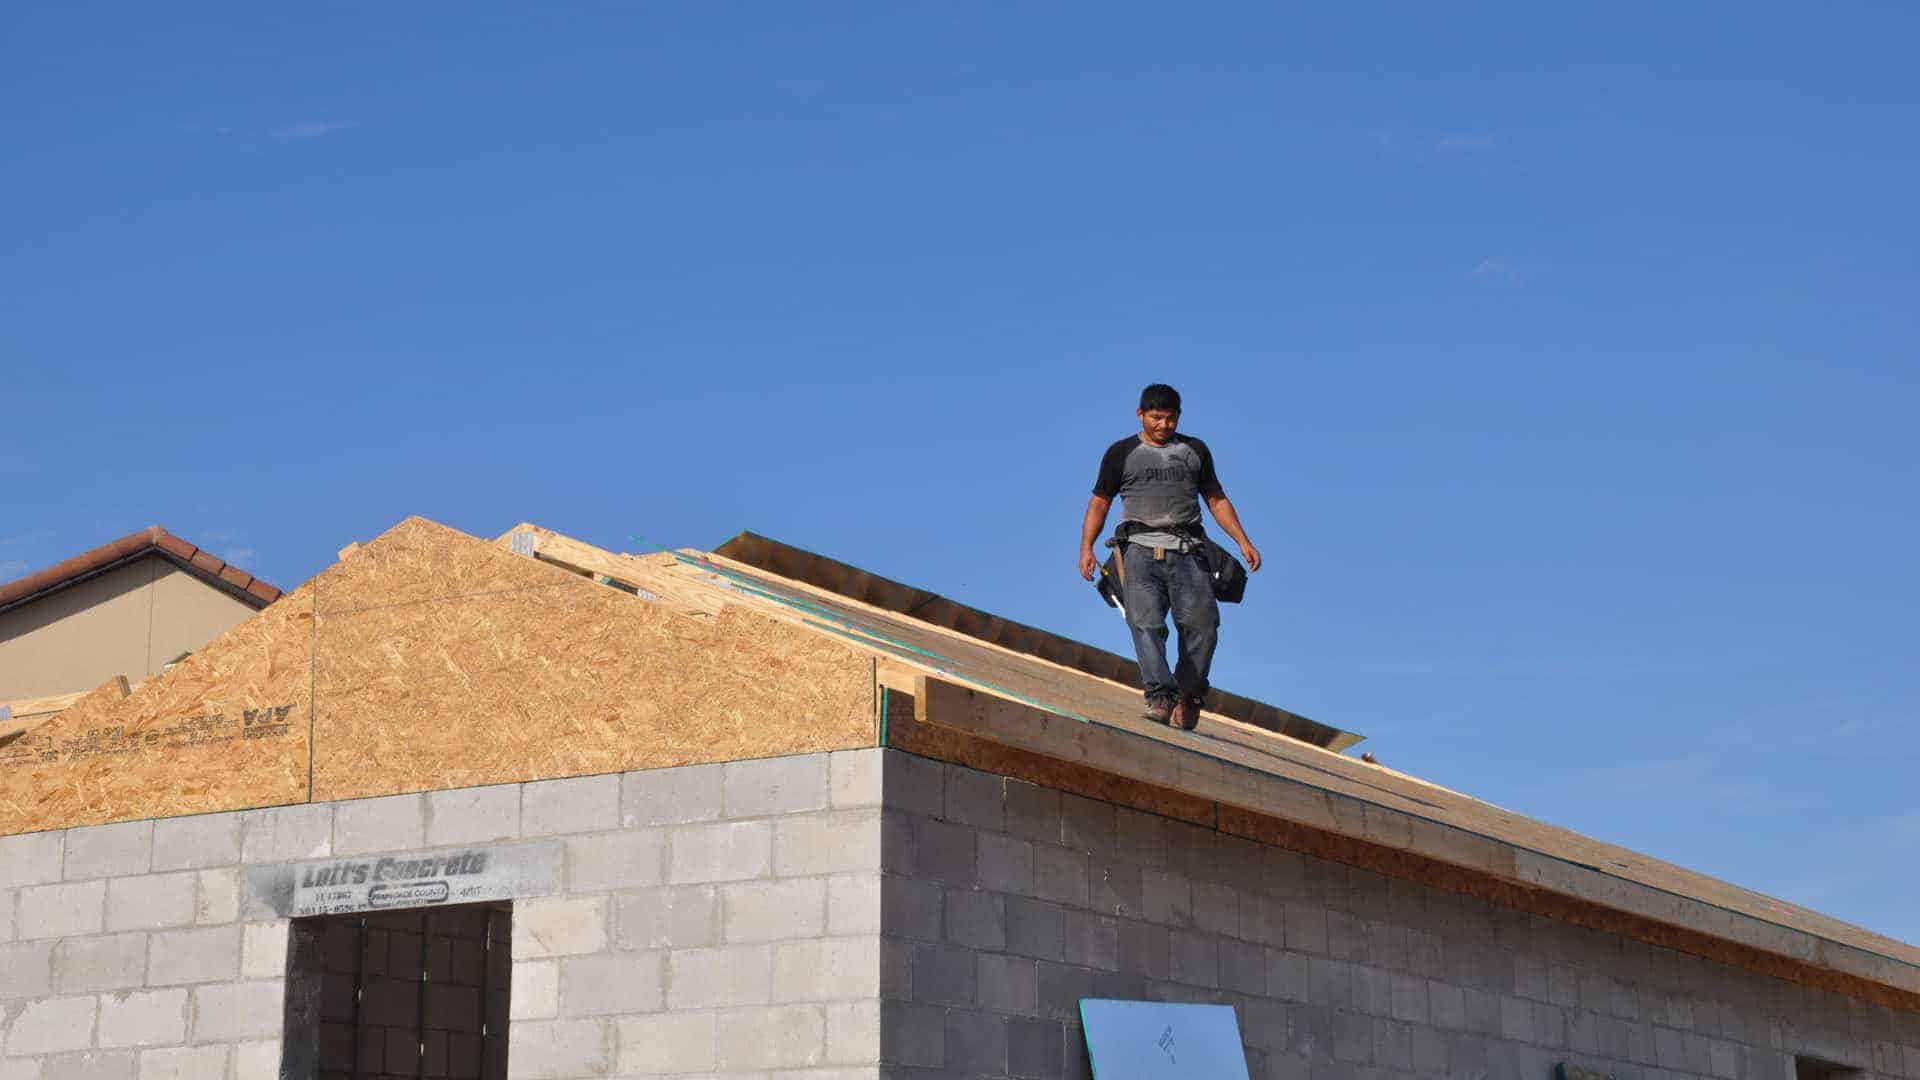
When picking a builder in Florida, I had the opportunity to ask the building supervisor questions. One of the most important questions was “… tell me the three best ways to make the house more energy efficient”. Based on this discussion, I agreed to pay a surcharge for a radiant barrier on the roof. While I understood the value of radiant barriers (read: Home Heating Concepts), I had no experience with radiant barriers. I was surprised then to learn that the barrier would come attached to the roof decking … and that wasn't my only surprise.
Roofing Deck Materials Arrive Along with Installers
One of the challenges every builder faces is coordinating the arrival of various building materials so the installation crew can get to work as soon as they arrive. It sounds easy but it's not because as soon as one install task ends, the next one needs to start. Right now my building supervisor is frustrated because he's ready to schedule the framing inspection except … there are four missing windows!
So let's look at the steps involved in putting a roof on a house:
- Installation of the roof trusses, the pre-configured structural framework designed to bridge the space over rooms.
- The roof decking is then installed on top of the roof trusses, forming the first roof layer. Roof decking is typically 4 by 8 ft sheets of plywood or oriented strand board (OSB) sheathing. The thickness of the boards is determined by local building codes and in Minnesota that means 1/2 inch (hint: this relates to the problem I discovered which is identified below).
- Next comes the roofing underlayment that's installed on top of the roofing deck. It's water resistant to protect the roof from rain and prevent the leaching of chemicals from asphalt shingles. Traditionally this underlayment was made from asphalt-saturated roofing felt. This roof has a synthetic underlayment, RhinoRoof (watch this video to learn more) and in colder climates where ice dams are a problem, you typically find a rubberized asphalt roof underlayment.
- Finally the roofing shingles are installed and we'll write another article that explains the starter course, drip edge and more.
If you want to learn more about the layers making up your roof, read Roofing Layers – What's Underneath Your Shingles.

Adding a Radiant Barrier to the Roofing Deck
You know how clothing styles change each year with tops showing skin some years and then they move lower, covering our butts (yes, we've all got one). There are just as many changes happening in the construction industry. Many of these are driven by federal laws focused on improving energy efficiency to reduce the US dependency on oil imports. Other improvements are meant to reduce the time it takes to build a house.
OSB sheathing is one of these improvements, using less wood than plywood for roof decking and wall sheathing. More recently manufacturers have begun offering house wrap already installed on plywood and OSB sheathing and now they're also applying a radiant barrier to sheathing. Here are some of the benefits offered by a radiant barrier:
- Radiant barrier sheathing can reduce attic heat up to 30º F according to Norboard.
- Lower attic temperatures mean less heat will enter your home, lowering air conditioning usage and costs.
- Lower attic temperatures will increase the efficiency of your HVAC system and ductwork, extending their life.


After the Roof Decking is Installed
Now the roof is ready for the underlayment followed by the shingles (will write more about my decision to pay extra for architectural shingles). The first two (outside, then inside) photos show the house before the shingles are installed.


Lessons Learned About Installing a Roof Deck
When I owned my handyman business we did lots of roof repairs. That's where I learned about some of the most common roofing problems (here are all the articles I've written about roofing). But that doesn't mean I know everything important about this roof install. That would take twenty plus years in the roofing industry!
So last night I learned about roofing nails thanks to a great article by Reuben Saltzman, a home inspector. He explained with great photos how Short Nails in Shingles is a no, no. Yes I've installed a few rows of roofing shingles personally but I was using someone else's tools. So Reuben taught me that nails should be at least one and a quarter (1-1/4″) inch long, and reach all the way through a roofing deck that's a half inch thick.
Now for the funny part of this story …
Where I first thought the roofing installed used nails that were too long (they are ugly), I am now concerned about a few sections of my roof that don't have the ugly nail pops. Maybe the shingles there were installed with nails that are too short … so I'll be discussing that with my building supervisor later today!


One of the challenges every builder faces is coordinating the arrival of various building materials so the installation crew can get to work as soon as they arrive. It is necessary to hire professionals for roofing restoration because they know the best techniques to repair your roofing.
Agree that homeowners don’t understand the scheduling juggling act that every builder & remodeler deals with each & every day. My education started with my first build, where the foundation guy finished 2 sides and disappeared for a month. Builder explained how noone else would finish the job as there’s too much liability … and the foundation guy was locking in as many houses as he could get away with. That’s why some remodelers tell homeowners to get all materials they’re providing on site before they start.
Awesome! Thank you for taking the time to even share. Look forward to more articles.